DIY Composting Toilet Install
Have you ever wished your toilet didn’t use so much water?

If you didn’t use precious water every time you flush the camper toilet, then you could extend your camping trip, after all. Well, It’s time to get excited if you are an avid camper, because there is a solution. It comes in the form of a composting toilet. Many companies have introduced a composting toilet as an alternative route to a conventional one. No more flushing all that useful water down the drain and filling your sewage tanks! This toilet is fantastic, because i don’t know about you but I have never enjoyed emptying a nasty RV sewage tank. Of course this option is not for everyone, but many people will love the benefits.
How It Works Is Simple
You have two separate tanks integrated into the toilet; liquid tank and a solid tank. Depending on what you are doing you can just flip a lever on the side. The solids are dropped into a tank of composting material mixed with enzymes for proper breakdown of waste. This, mixed with a vent fan, allows for about 50 uses before it needs to be emptied. That means one could essentially only have to empty the waste once per year when only doing occasional weekend camping. Emptying the toilet is also a simple task. Just disconnect the vent hose, loosen a few little wingnuts by hand, then its ready to dump. The liquids are even easier; just loosen the two wingnuts and remove the tank to dump. See, simple!
What You Will Need
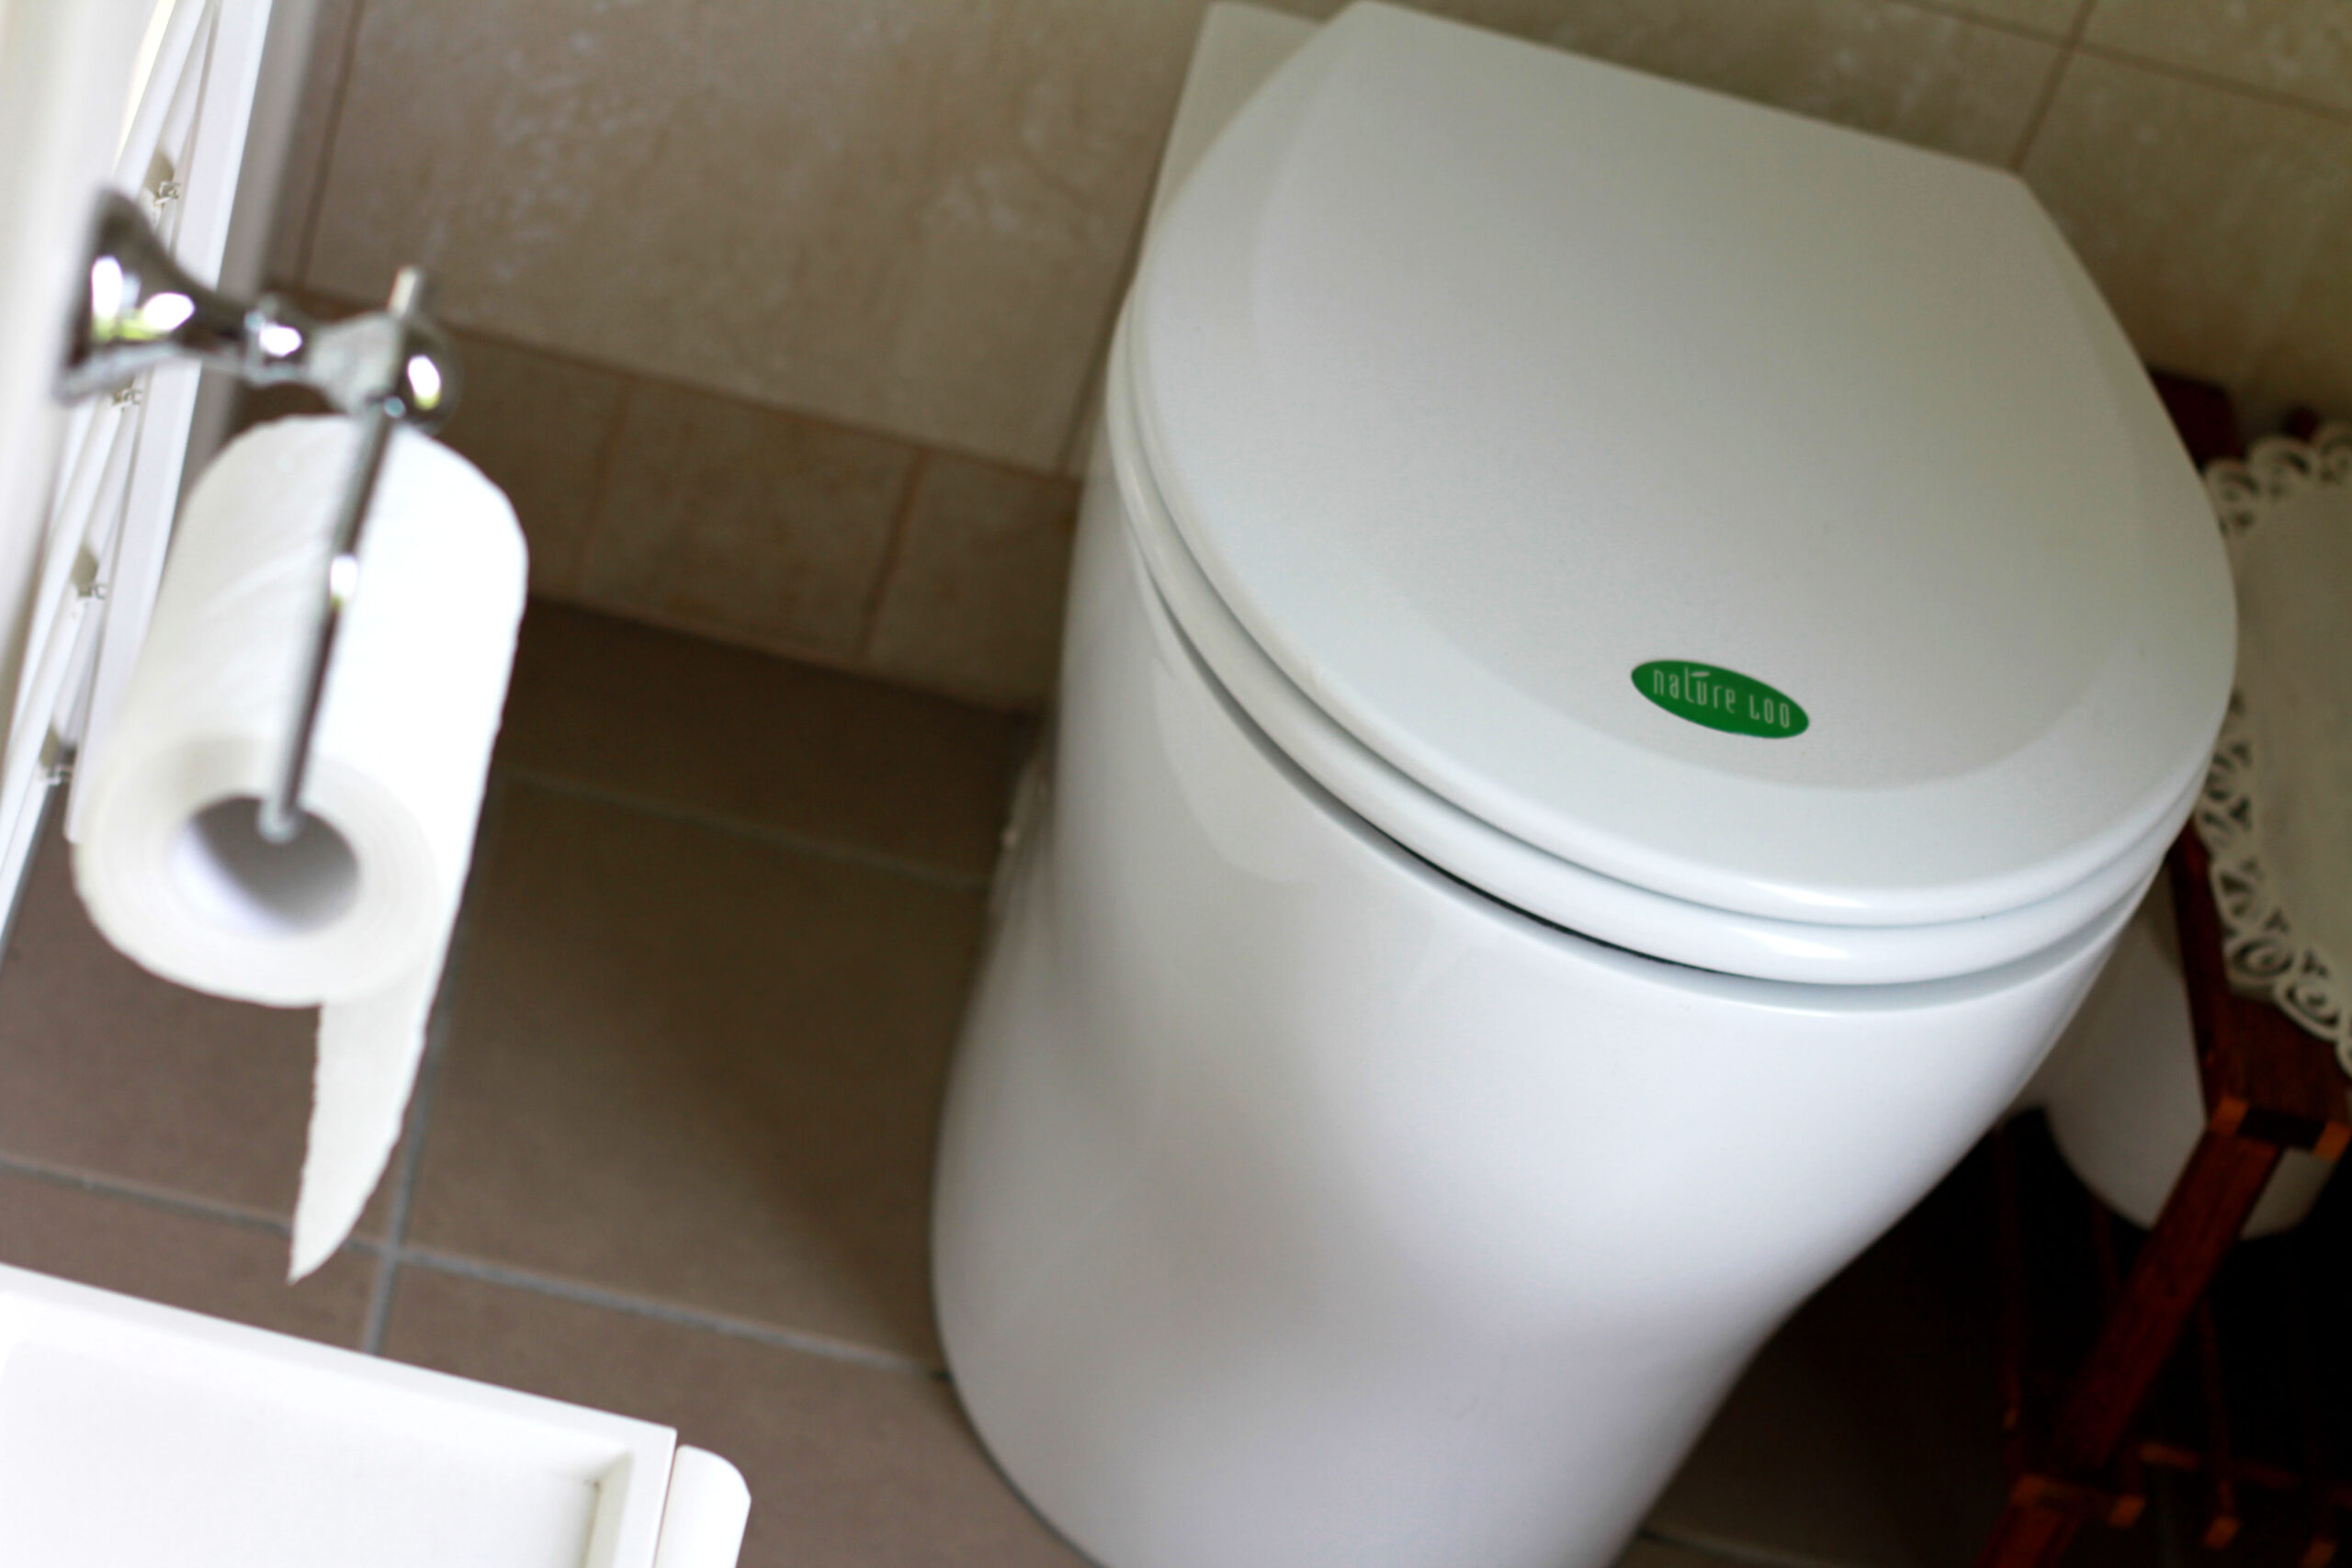
Let’s look at installing an Airhead Composting Toilet. Install is relatively simple too, but if you feel like its a little overwhelming or need help contact your local RV dealer and they will be able to assist you.
First, you will need to get a few things from the hardware store:
A 3″ gripper plug (Lowes/Amazon).
1/2″ PEX cap (I used a SharkBite for ease of install and the option to remove if needed).
16-18 gauge wire (length depends on install).
Wire nuts.
Wiring plastic covering.
28″x 28″ x 1/2″ plywood sheet.
2″x 1″x 48″ piece of plywood (2 of them).
90 degree angle brackets.
Screws.
Installation
The first thing you will want to do is cap off the original toilet’s water line. Make sure the water pump is off when you start, so you aren’t spraying water everywhere. Disconnect the water line from the original toilet, and remove the toilet. Install the cap onto the water line.
Second, you will install the gripper plug in the hole that was under the toilet. It will sit down in the hole and then you can tighten the nut on top to seal off the hole.
Third, you will and to build a platform for the composting toilet. This is what all that plywood is for. Use the sheet for the top and the other pieces to raise it off the ground a couple of inches. I ran the 2″x1″ all the way around the perimeter of the sheet for a good base. Adding support in the middle will make it stronger, but make sure it doesn’t run into the original sewer hole. Install the base into the RV and secure the base either to the floor or studs in the wall. This will keep the base and toilet from moving around.
Fourth, you will want to mount your composting toilet to the base you just built. The Airhead toilet comes with brackets that need to be screwed to the base. You will have two brackets for the solid tank and two for the liquid tank. They are placed inward when they are screwed down.
Fifth, you will need to install and wire a vent fan. Now, the vent can be placed wherever as long as it routes to the outside. Either through the wall, ceiling, or through the floor and out a compartment. I went with the wall as it was simple and close. Drill a hole in the wall that is about 2 inches. Mount the fan and vent to the wall. Then on the outside mount a vent cover to reduce any sort of bugs or water from coming into the hole. Its a good idea to water proof the outside vent as well so you get no water in the trailer.
Now wiring the fan can be done a couple different ways. You can either wire it to a switch or straight to the battery. Wiring it straight to the battery would mean its always running, but can help keep any sort of smells out better. Or you can mount it to a switch, which allows you to turn the fan on and off as needed. I decided to wire it into the switch for the existing bathroom fan. So when you turn on the bathroom fan it also turns on the vent fan. If you use this route make sure to run the fan for a little while after each use to make sure you have good proper venting. Just wire the fan in parallel with the switch so they both come on when the switch is flipped. Then cover in the plastic wire covering for a cleaner look.
Sixth you will route the vent hose from the toilet to the fan. You will need to cut the supplied hose in half and install the connectors that come with the kit. Make sure on the hose attached to the toilet that you glue in both connectors. I found that PVC glue works very well in sealing the connectors and making sure nothing comes apart.
Now you can install all the parts of the toilet into their proper places. The two tanks just sit in their spots and then tighten down the wingnuts on each side. Install the top of the toilet on the solid waste tank. then connect the vent hose from toilet to vent fan.
And there you go! Time to get out and start camping GREEN!! This way you can stay off the grid longer without needing to refill your water tanks or empty your sewer tanks and you will have a nice place to do your business.
Now get out there and GO CAMPING!!!
If you want to speak with someone who can get you into the trailer of your dreams give ROA OFF-ROAD a call: 801-860-0035,
Or check out our website https://www.rvsofamerica.com/
For some awesome off road videos check out our YouTube channel: https://www.youtube.com/@ROAOffRoad
Attributions:
Thanks to Stranman84 for the picture of the composting toilet.