DIY RV Awning
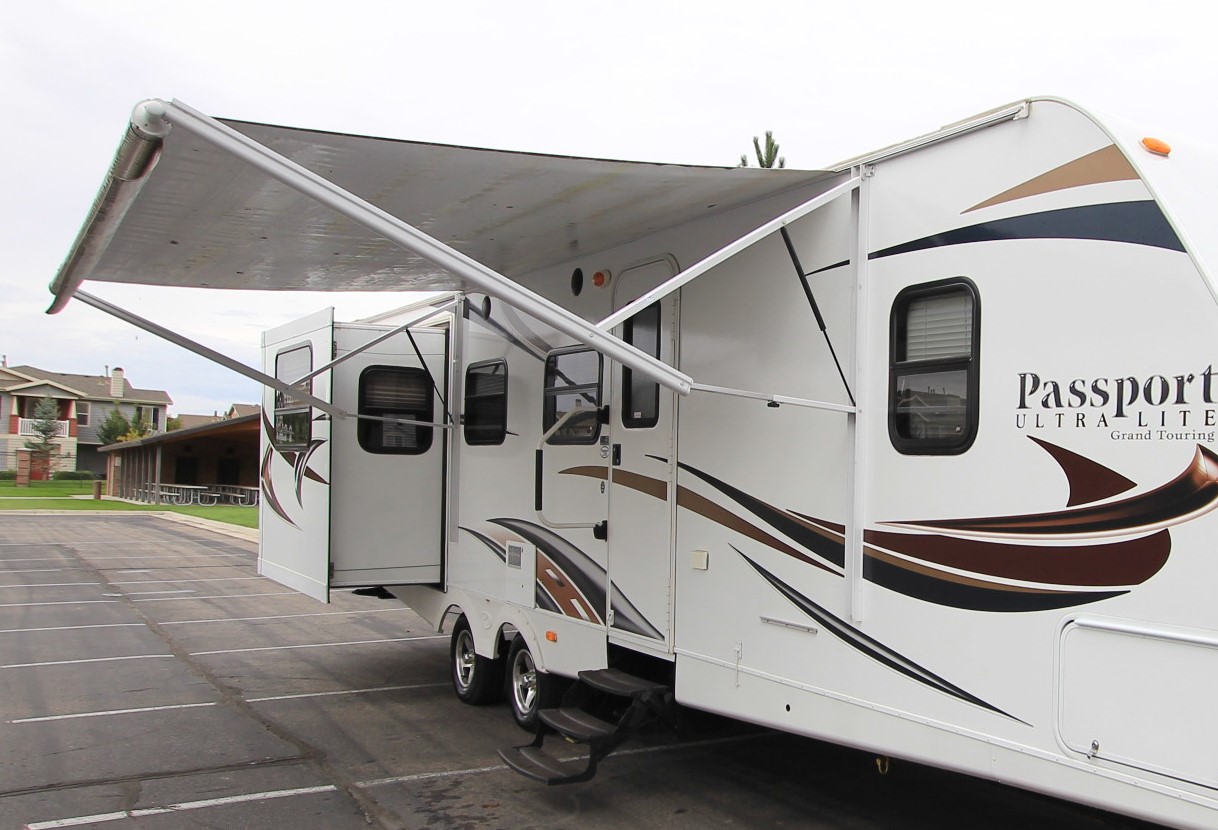
Almost every RV has an awning of some sort from Class A diesel pushers to the smallest of bumper pulls. The nicer ones extend and retract with the push of a switch.
The simpler ones need to be manually pulled out. This blog is aimed at showing how to replace the simple ones. The ones that pull out and operate with the up and down cam locker.
At RV’s of America we have seen countless used RV’s with worn and tattered awnings. These awnings are in desperate need of replacement. So, at the approval of the owners, we replaced a lot of them.
First, Take It Off
we need to get the awning assembly off of the RV. At the bottom of the legs you can lift a tab that will slide out the bottom portion and then you can pull it off so that it hangs down and is only connected by the fabric at the top. This is where we need to undo the two screws at the top of the remaining portion still attached to the RV. Once that has been pulled off, you can now (with one or two peoples’ help) slide the plastic cord out and bring the whole awning down.
Second, Take It Apart
Grab yourself a crescent wrench so you can remove the bolt, on the side that has the cam locker. It’s where the awning switches from roll up to roll down, where the spring is held. On the other side there isn’t that locker though. You’ll need to clamp vise grips onto the rod that extends out to the bracket, to hold it in place as you remove the bolt. There will be tension on the spring inside, so unwind it slowly.
Now you’ll need a drill and drill bit to drill out the rivets. That’s the best way to let you pull the spring cover off, so you can slide out the awning fabric. Before pulling out the spring cover, however, it is best to make some marks on the cover and the awning tubing. That way it will be much easier to put it back in the same place at the end of this process.
Now that all the rivets are drilled out and there is no tension on the spring, grab the top bracket and pull the spring out.
Third, Putting It Back Together
After removing the spring cover on both sides you can now slide the old fabric off the awning tube. Once you have, slide the new fabric on the same way the old came off.
Now, put the springs back into the tubing. Make sure to match the markings you made earlier. Put new rivets in and using vise grips turn the spring the number of turns determined by the manual given with your new fabric. As longer awnings require more tension to pull it farther.
Once the tension has been added to the spring the legs can be bolted back to to the spring cover bracket. This is where you will need the help of one or two more people again. I found it best to have one person on the roof while the other two walk holding either leg. The person on the roof slides the fabric through up to the end. Grab the leg portion that sits at the top of the RV and screw it back in up top.
Finally, just reversing the things you did to remove the awning and legs. Slide the legs back on and pop them back on to the tab at the bottom. This process is simple and could almost be done without a guide but hopefully this one helped!
If you want to speak with someone who can get you into the trailer of your dreams give ROA OFF-ROAD a call: 801-860-0035,
Or check out our website https://www.rvsofamerica.com/
For some awesome off road videos check out our YouTube channel: https://www.youtube.com/@ROAOffRoad